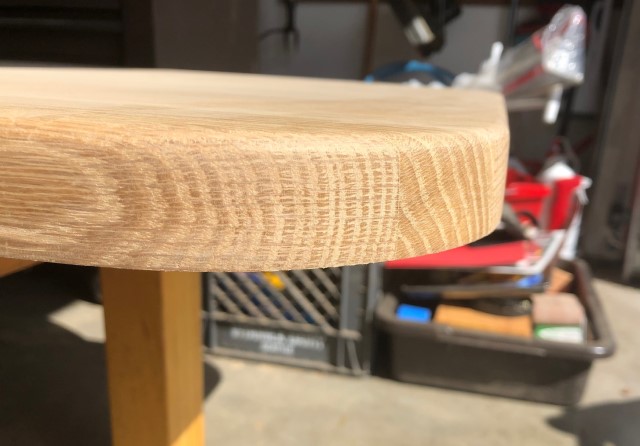
Here’s the result of sanding out the jigsaw and belt sander marks, as shown in Week 3. Some aspects of the grain in this white oak may make it look like there’s more sanding to do, but that’s just the grain.
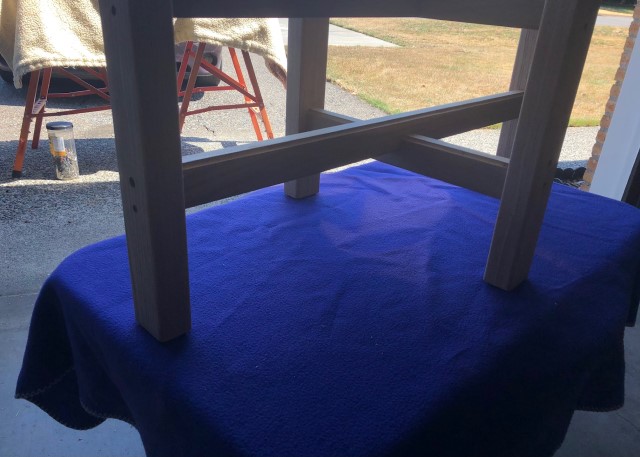
The stretchers had already been glued and screwed together before Dad attached the legs to the upper stretcher assembly. The pieces are much more comfortable to handle with the rounded edges.
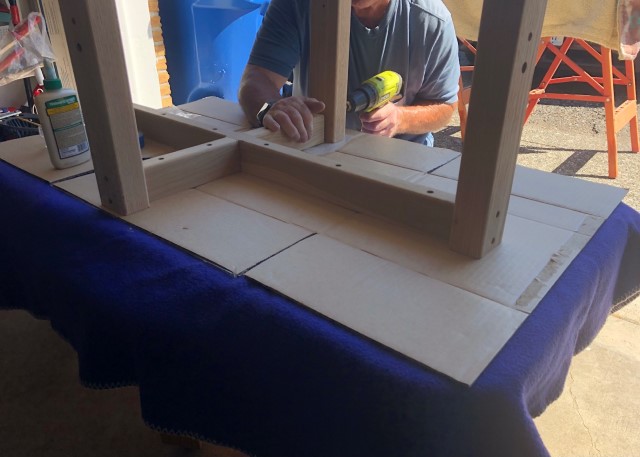
Next came installing the lower stretcher assembly. Some taping, marking, and gluing occurred after a little trial and error during the dry fit. Dad screwed the lower stretchers into place then removed the tape.
The result is one heavy-duty leg assembly. I’m very happy with uneven lap joint and the cove detail on the lower stretcher assembly. I chose to put the long stretcher on top to lengthen the table visually.
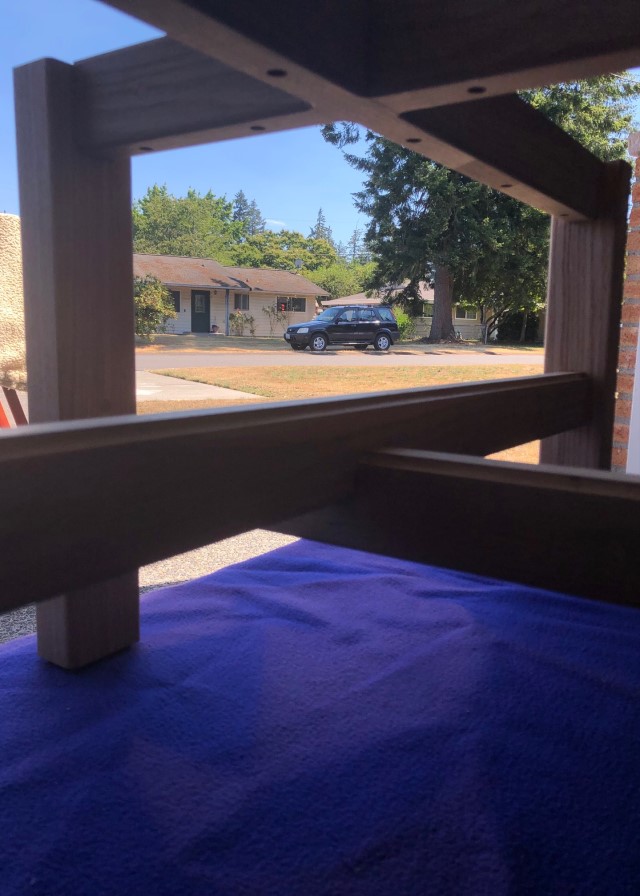
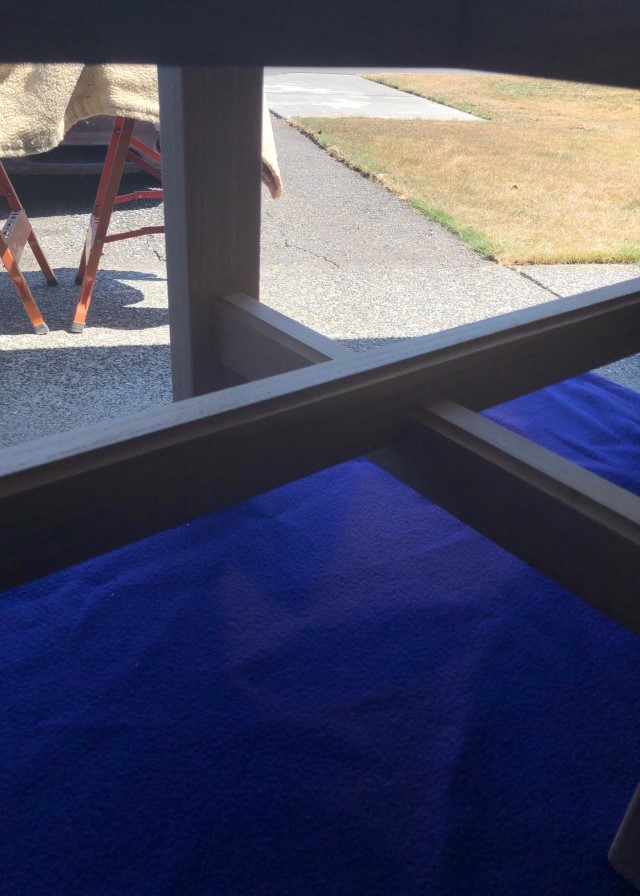
Here’s a photo of the completed “undercroft” . . . and the neighbor’s car. Don’t worry, the top stretcher not being flush with the leg is an issue that will certainly be addressed. The overall theme for the day was blue, which was represented in several ways: Dad’s blue shirt, the blue yard waste bin, the blue travel blanket, the blue sky, and the blue painter’s tape.
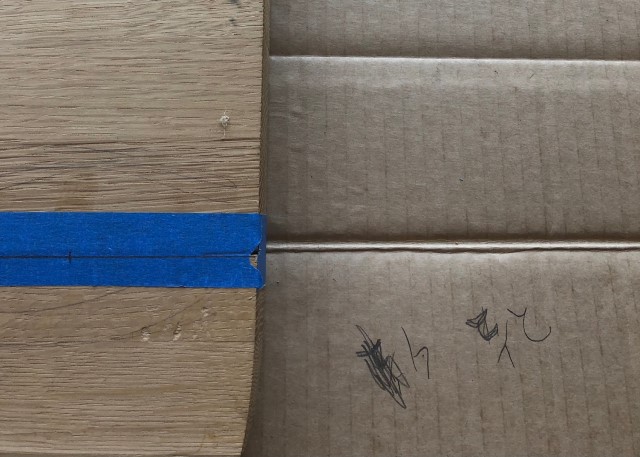
Speaking of blue painter’s tape, here it is in action. We used it to mark spots for drilling in this, and other strategic locations. The cardboard we used for any potential glue drips did double duty as a notepad.
~ Check back for Week 5 or leave a quick comment letting me know you’d like to see more of this project. You’ll receive an early-bird email with a link to the next installment. I don’t have an email service set up, but I should be able to manage it manually. Thank you for your continued interest.
Glued and screwed—what more needs to be said? Two thumbs up!
Love the work so far and can’t wait to see more! Also: Cool! I have the same blue tape! 😉