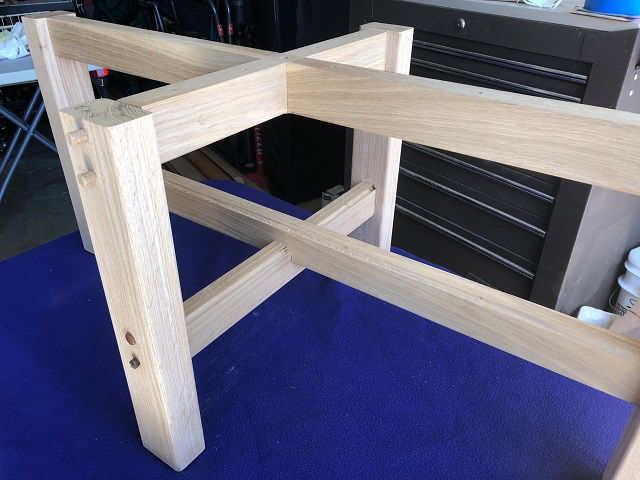
We plugged the screw holes at the end of the previous week, giving the glue more than enough time to dry.
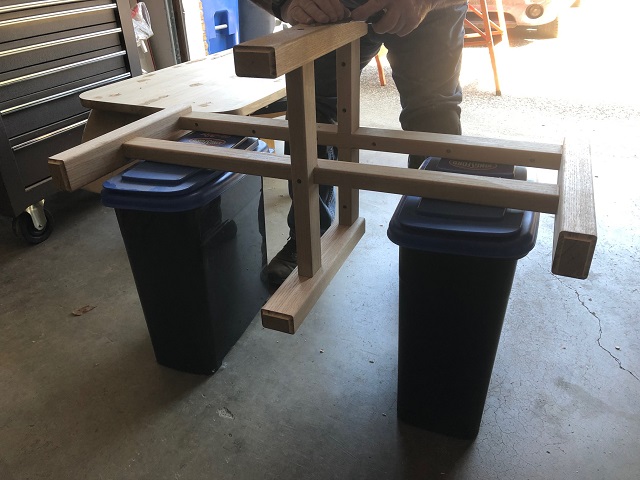
Dad gave each one a cut and shave, then a light sanding. He also planed down the top stretcher protruding above the leg, as seen in the photo above.
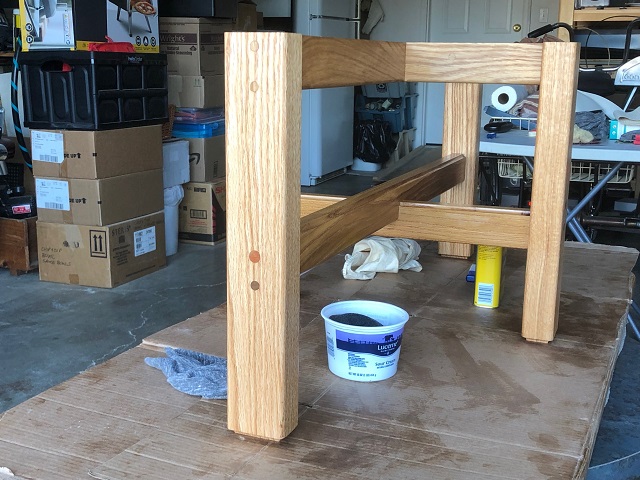
He finished the planing and sanding then left for the day. It was my turn to take over. I applied two coats of tung oil, rubbing it with 0000 steel wool between coats.
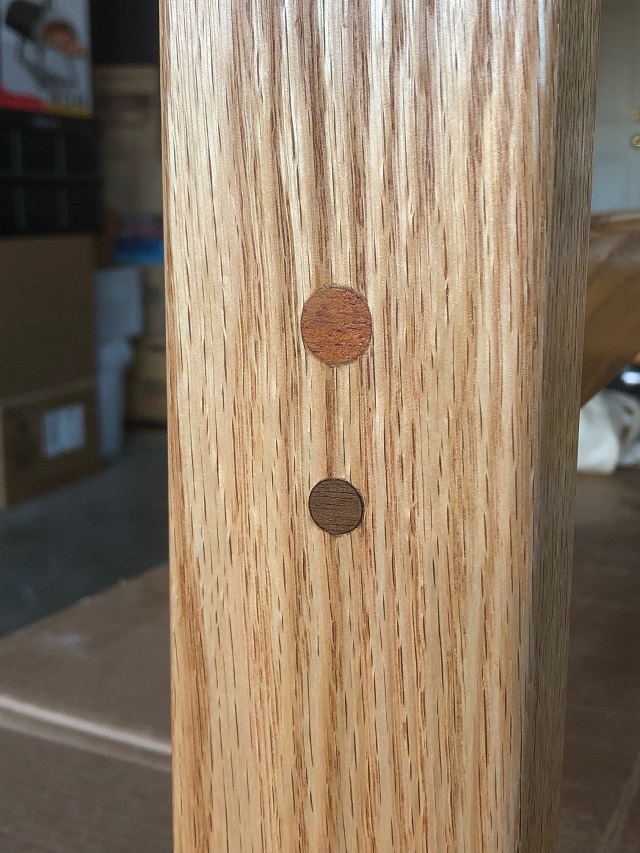
Here’s a closeup of the plugs Dad cut from small pieces of wood I’d collected over the years. We used contrasting colors to match what we did on the top.
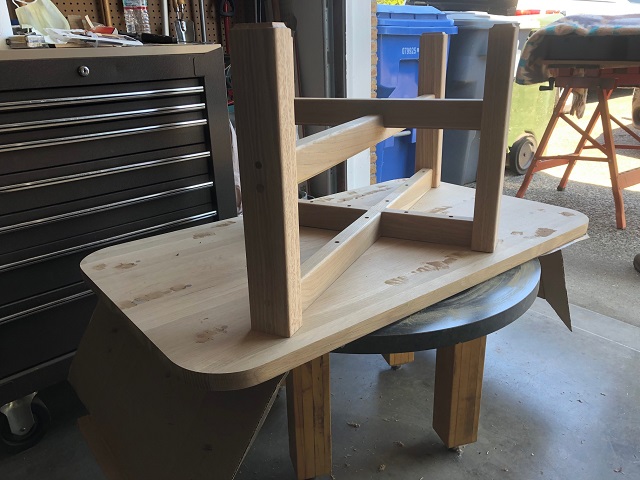
Dad’s next visit had him applying putty to areas of surface checks and small gaps. He also puttied around the features and fixes we added and applied earlier.
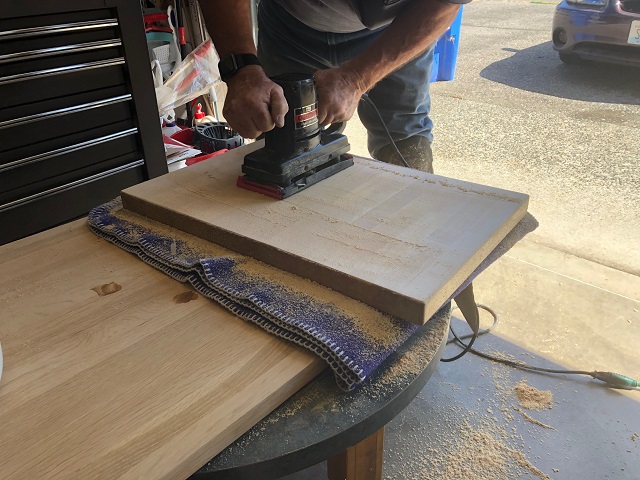
Since the sander was already here, I asked Dad to sand down our cutting board. It’s a piece of butcher block counter top scrap from work. He sanded the entire surface to remove the food-safe factory finish from the areas not worn through and subsequently coated with mineral oil. The fresh surface received five fresh coats of oil and looks back to its old self again.
~ Check back for Week 6 or leave a quick comment letting me know you’d like to see more of this project. You’ll receive an early-bird email with a link to the next installment. I don’t have an email service set up, but I should be able to manage it manually. Thank you for your continued interest.
So close! Can’t wait to see the finished product.
Was nice to see it in person the other day. Love the contrasting plugs!
The table is beautiful so far! Nice choice on contrasting plugs! And I grew up with and love butcher block. Unfortunately, the blocks have come apart in parts of the butcher block dining room table I grew up with and currently use as a craft table. But it sure made me smile to see and read about your cutting board!