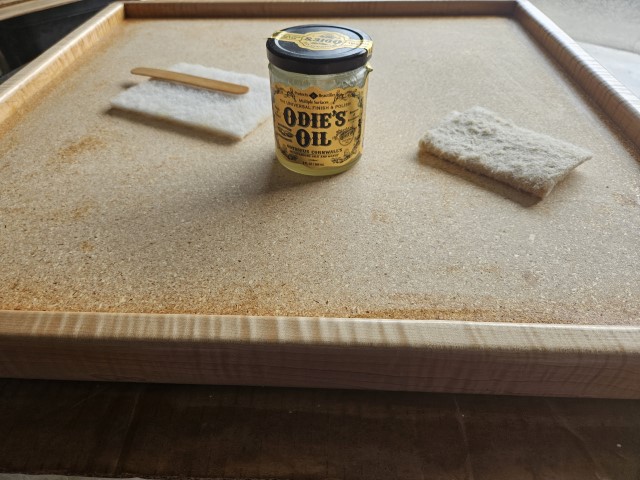
The tabletops were ready for finish after a few sanding sessions. I used up the remnants of my first jar of Odie’s Oil, then continued with the new jar I bought before we started this project.
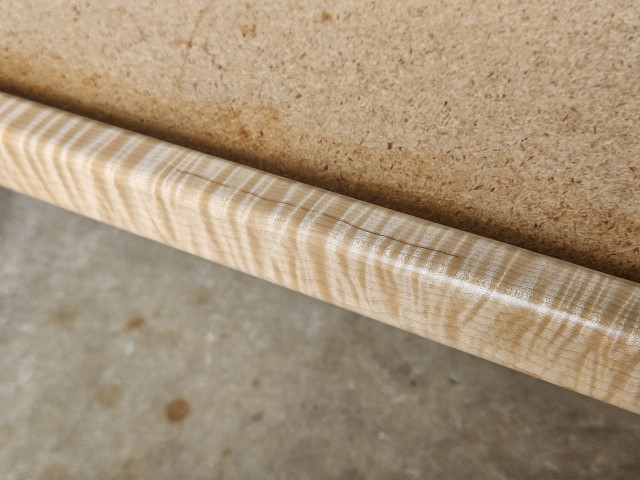
I began by applying the oil to the undersides, rubbing in two coats of oil on the inner lip, the bottom edge, and the front face of all the trim. I applied it past the flat face of the trim and onto the 1/2″ top roundover to ensure I didn’t miss a spot
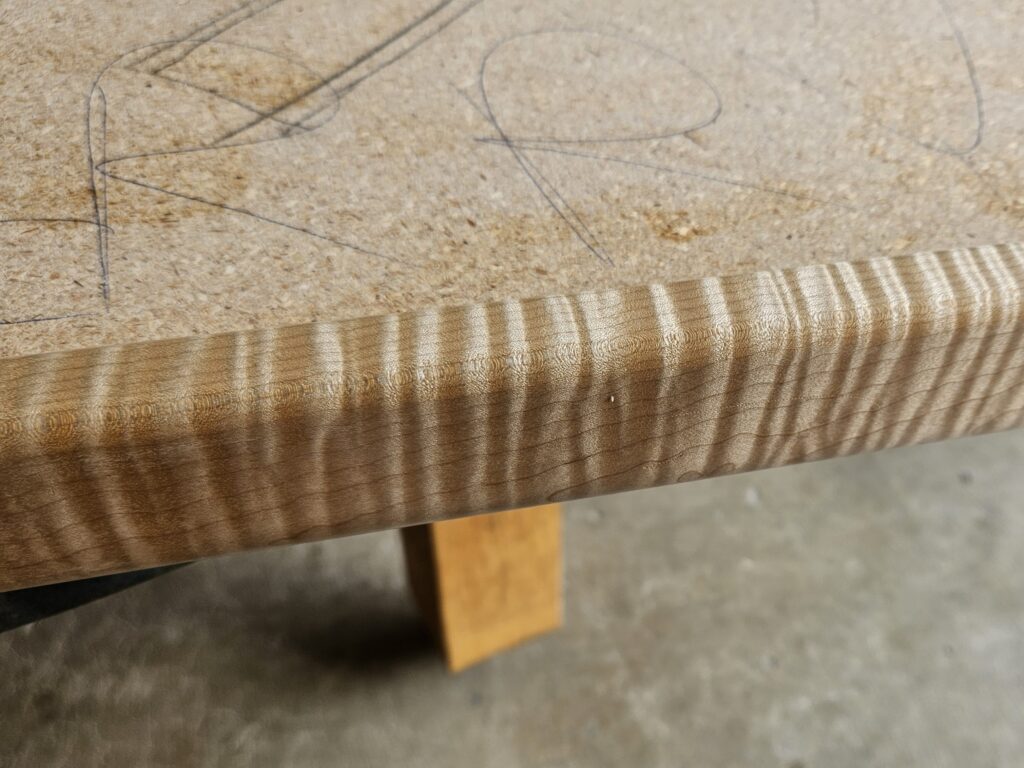
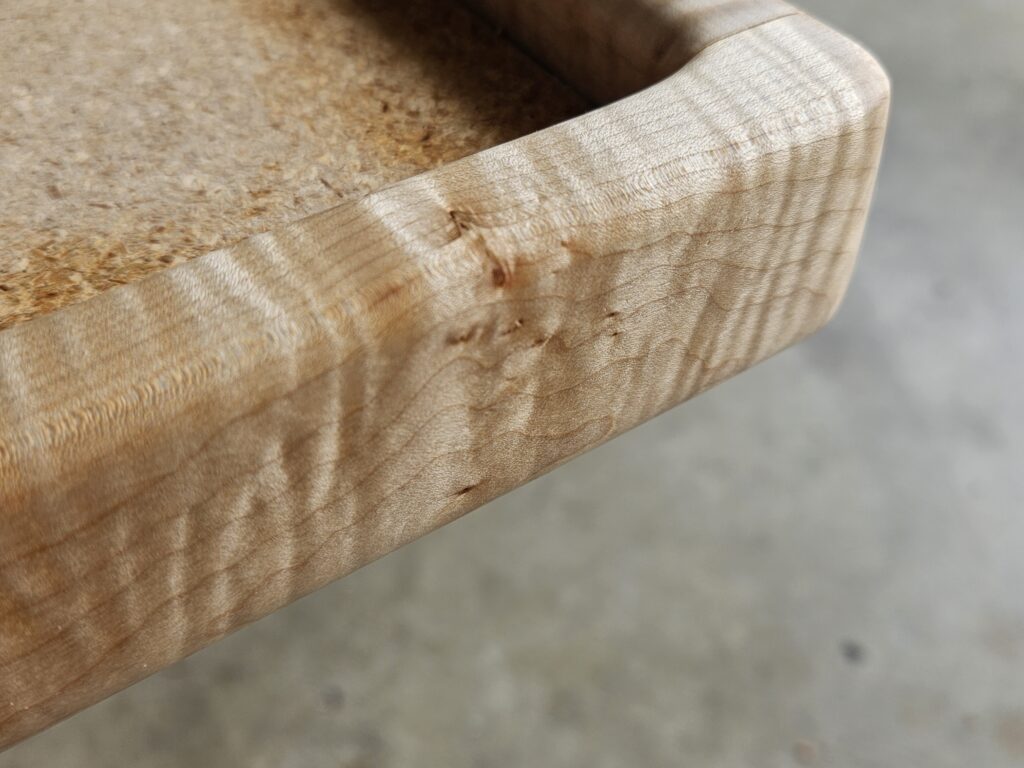
The oil intensified the contrast and enhanced the look of the small knots and other inconsistancies in the woodgrain. It really brought out the wood’s natural beauty.
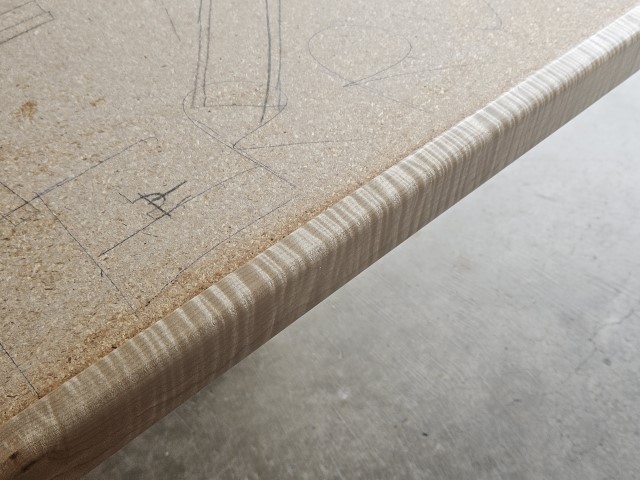
Just an extra photo of the ‘tiger stripes.’ It was hard to stop myself at one.
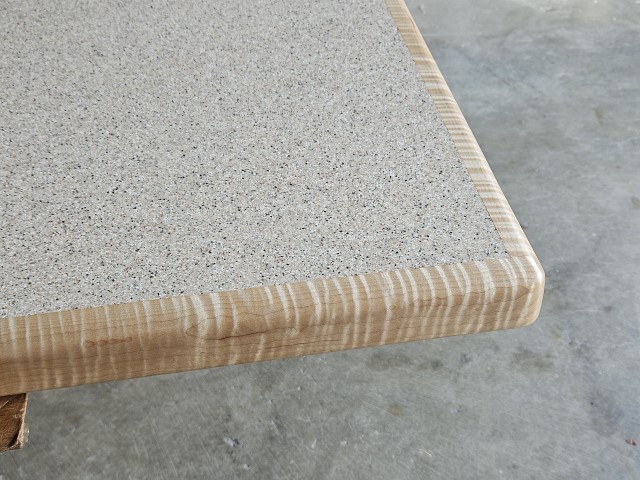
I turned the tabletops over after I let them ‘cure’ overnight. Then I gave the solid surface, the top edges of the trim, and the faces of the trim two coats of oil.
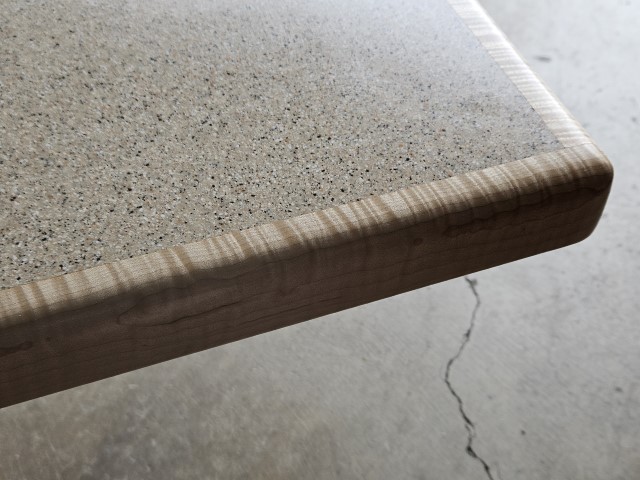
Yet another extra photo. See? I can’t stop!
I love the stripes and their direction compared to the grain of the wood. So glad I got to see the finished product in person! Beautiful work once again.
Maybe I’m biased… 🇨🇦🍁🤷🏻♂️… but maple is hard to beat! 👍
I’m not sure I’ve ever seen wood in person with stripes perpendicular to the grain. Beautiful! I’d be spending an hour taking macros of knots…