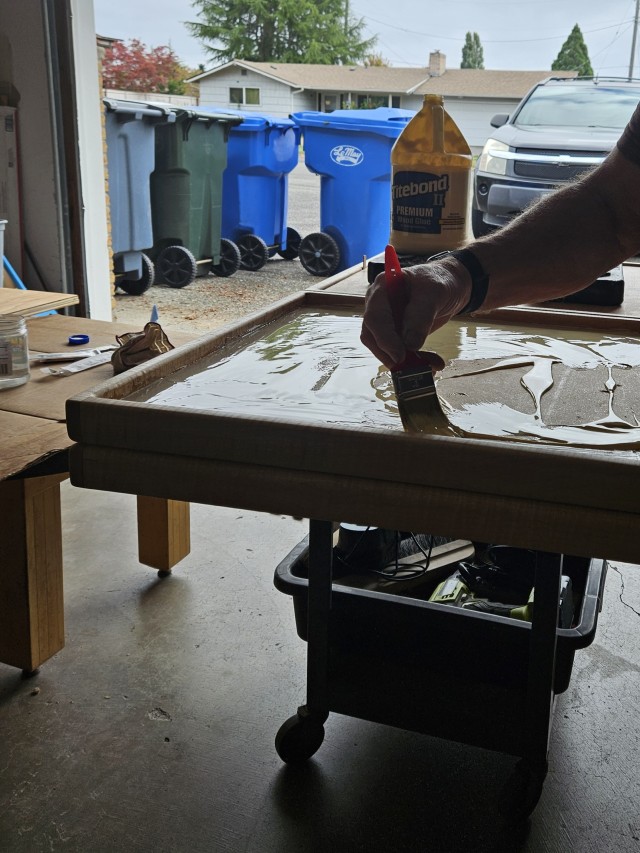
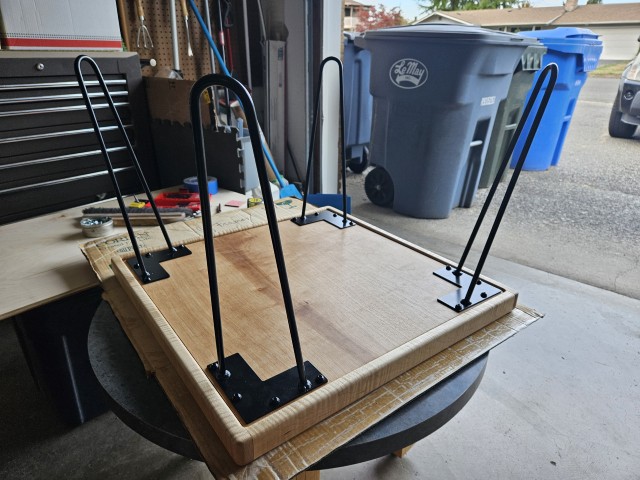
With the tops complete, we began the process of installing the legs. The first step was to slather the undersides with glue.
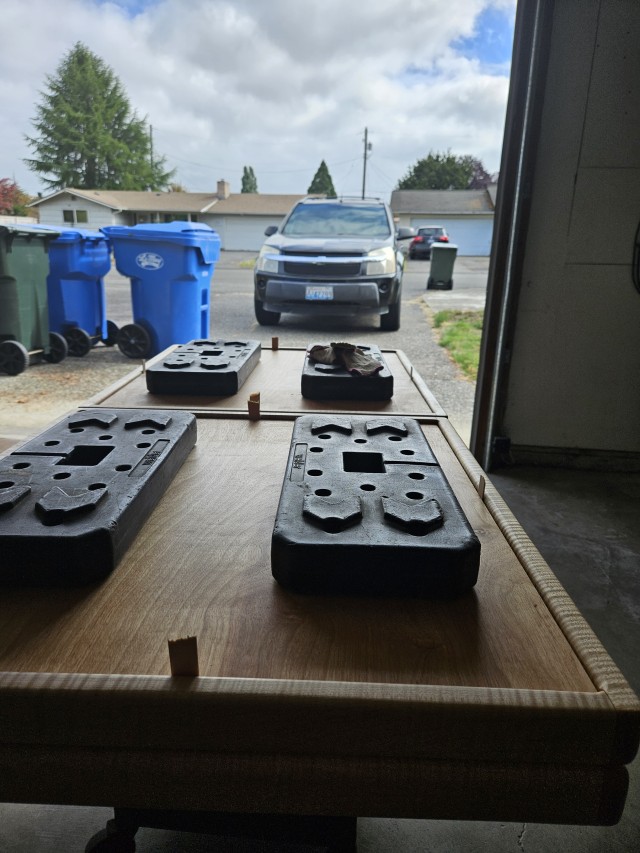
Dad brought the weights he saved from a piece of workout equipment to use as ‘clamps.’
However, they were no match for the 1/2″ plywood’s inner tension (see far corner). We would have screwed the corners down, had we noticed at the time.
I don’t know why I didn’t ask him to do that from the start, but I most likely deemed it unnecessary. I’m glad we were ‘forced’ into it.
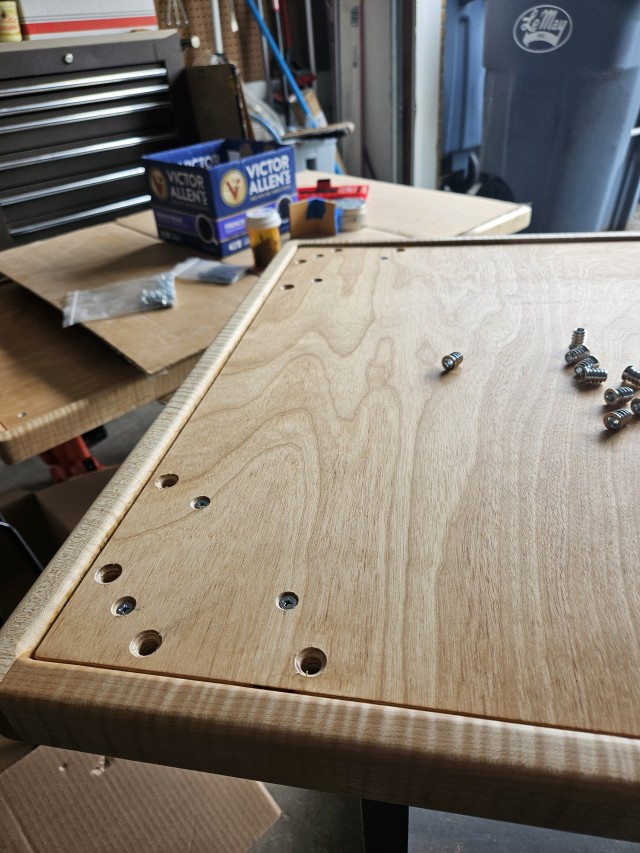
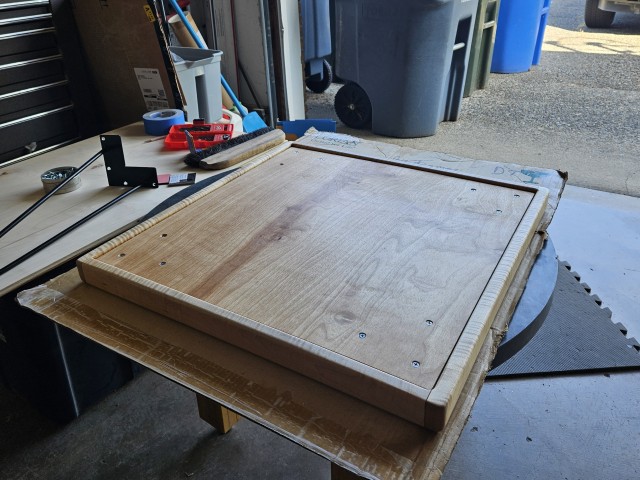
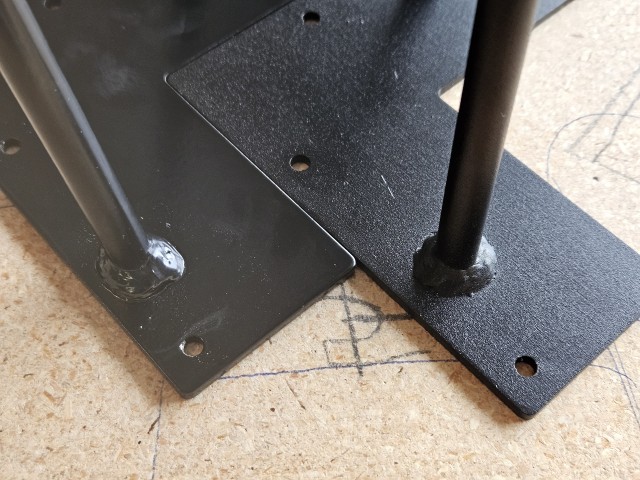
The leg manufacturer sent long screws, but I wanted to use something more substantial. So Dad drilled countersunk holes for threaded inserts . . .
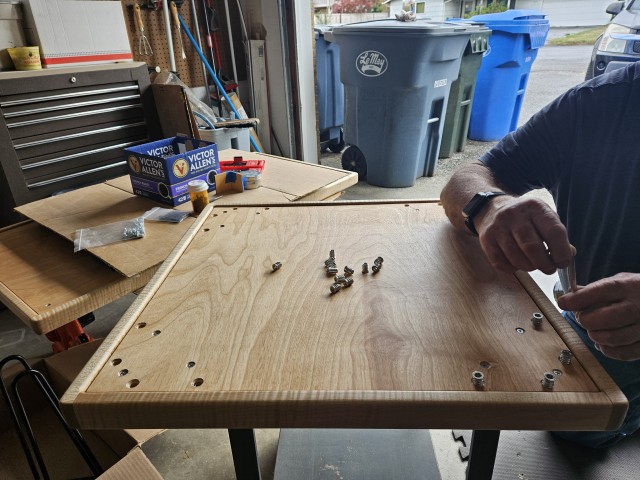
. . . then installed said inserts.
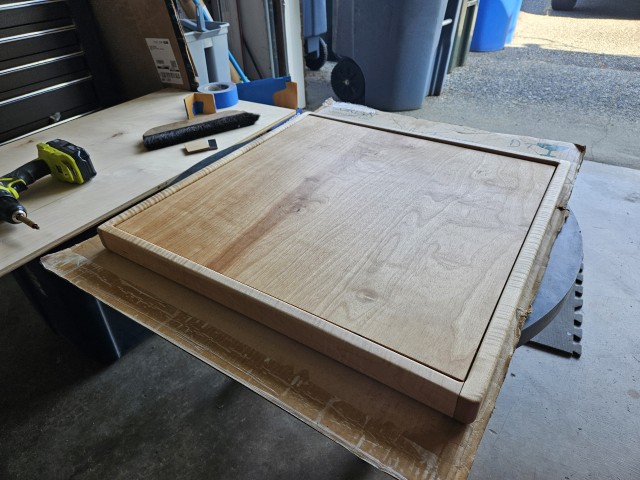
The tops were finally ready for their legs.
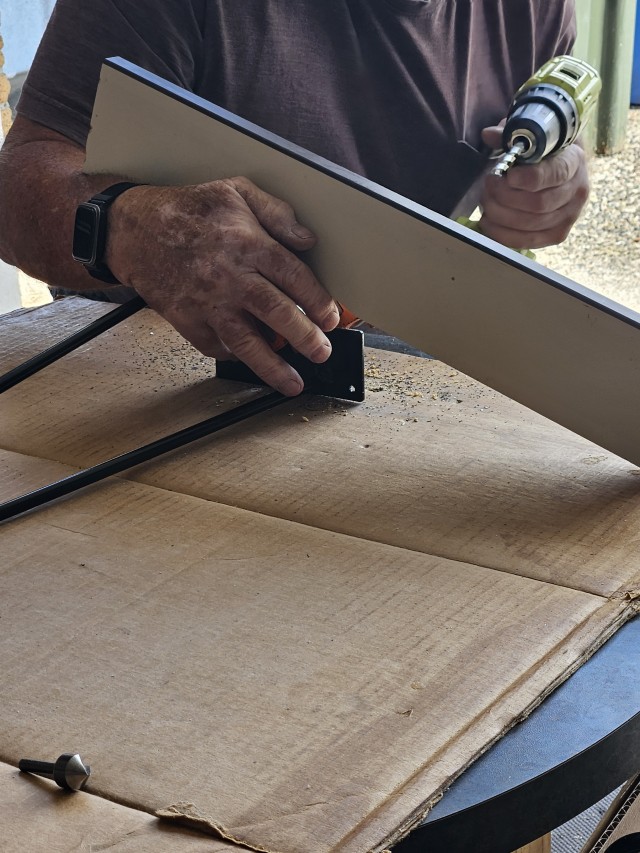
But the legs weren’t quite ready for the tops. The holes needed to be drilled larger to accept the bolts we used.
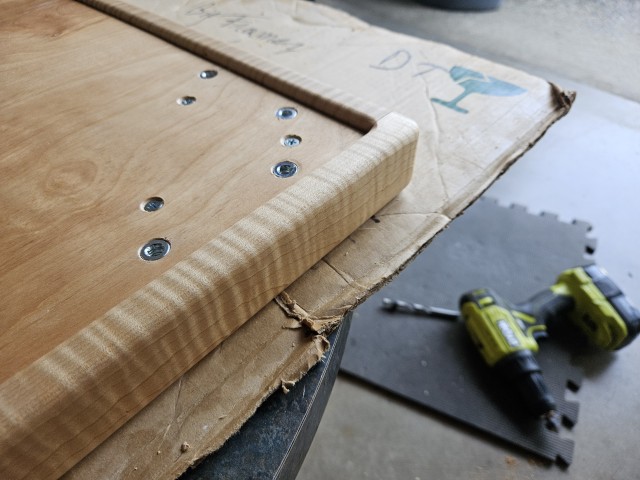
This is one of the two tables we completed. We prepared the third top in the same way as we did these, but we had to stop after installing the inserts.
The third set of legs arrived with a textured finish. While we waited for the correct set to arrive, we squeezed in another project. Click here to see what it was.
Ohhh! “Hairpin,” indeed! 😆 As always, I’m so impressed with your work! 😍
I approve of the slathering 👍