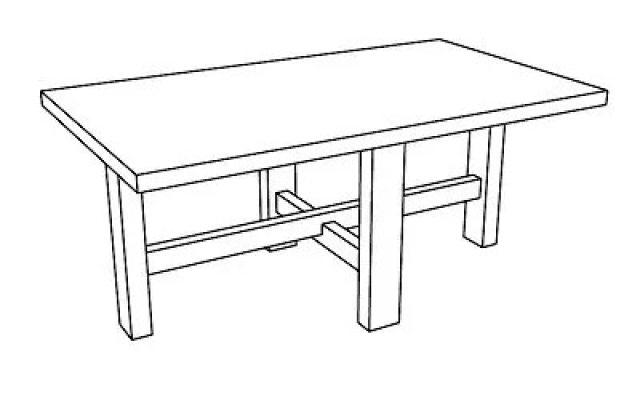
I found this drawing in my nearly forgotten Photobucket account. I drew it in the cabinet software I used at work, the job from where I got the wood. I must not have planned to radius the corners back then.
I took several hours over several days in the past several weeks to sand the parts while they were still unassembled. I used a palm sander on the flat surfaces to remove the machine marks and minor blemishes. Then I did the round overs by hand.
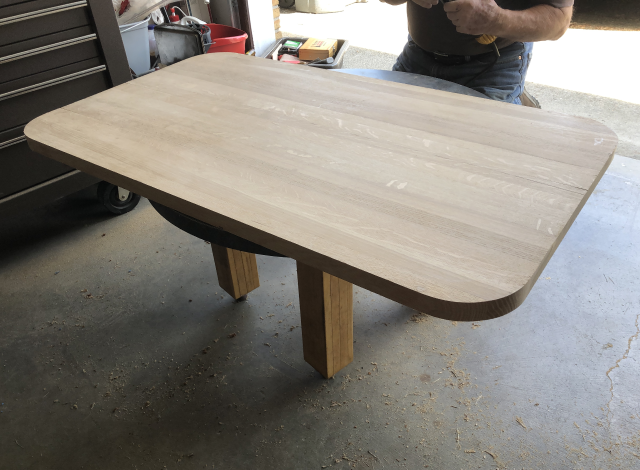
But the first order of business was to radius the corners of the top. The belt sander smoothed out the curve but left scratches that needed to be removed.
The jigsaw also left a few marks. Removing the sander and jigsaw marks took a bit of work, especially because they were in end grain. The structure of the oak’s grain made it difficult to see when the marks were gone.
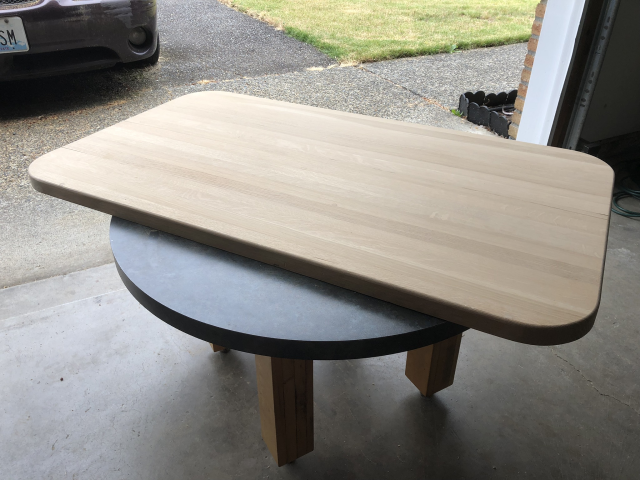
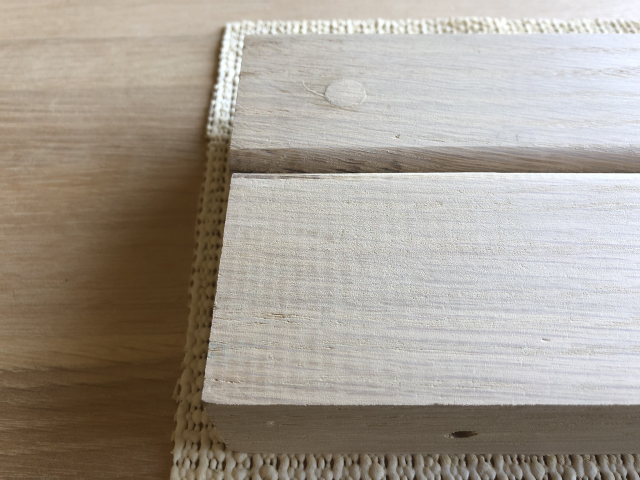
Next, we rounded over the edge. Some plugs landed near both long edge got rounded over. But only part of them show, and they are on the underside.
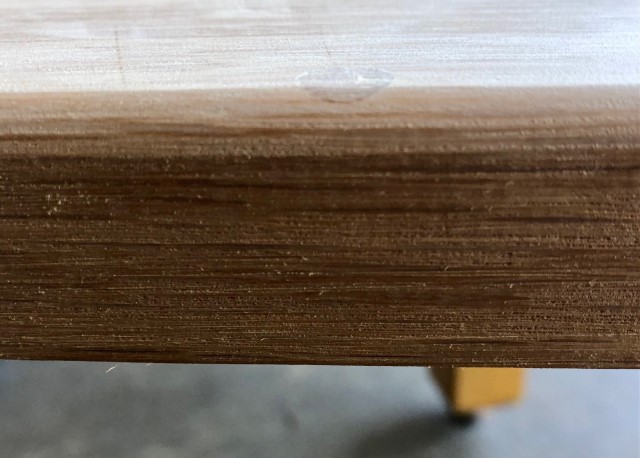
I knew this when I glued the top up years ago, putting the holes all on the same side. Between the height of the table, the matching color of the plugs, and the high likelihood of shadows, they’ll go unnoticed.
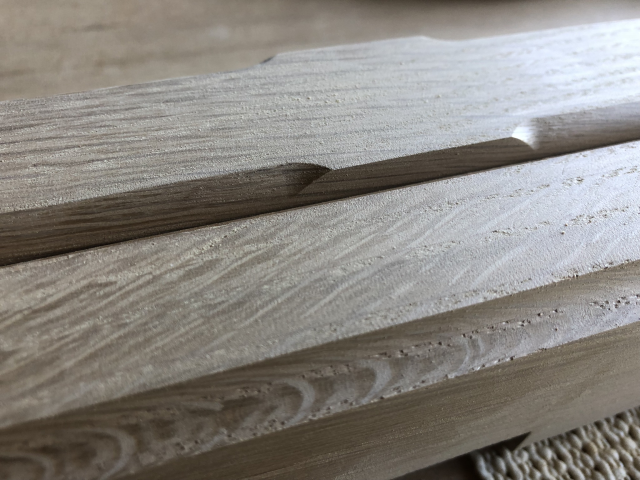
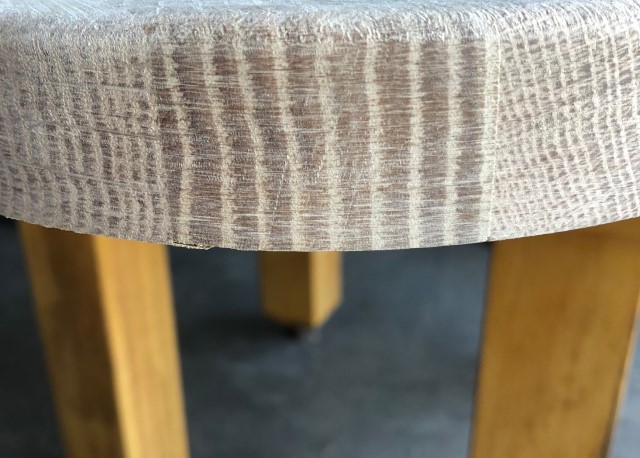
I didn’t sand the coves for fear of ruining the crisp lines. Any burn marks would stay and hopefully be unnoticed for the same reasons as the plugs mentioned above. Plus, they’ll join in with all the other imperfections of a table made with reclaimed wood.
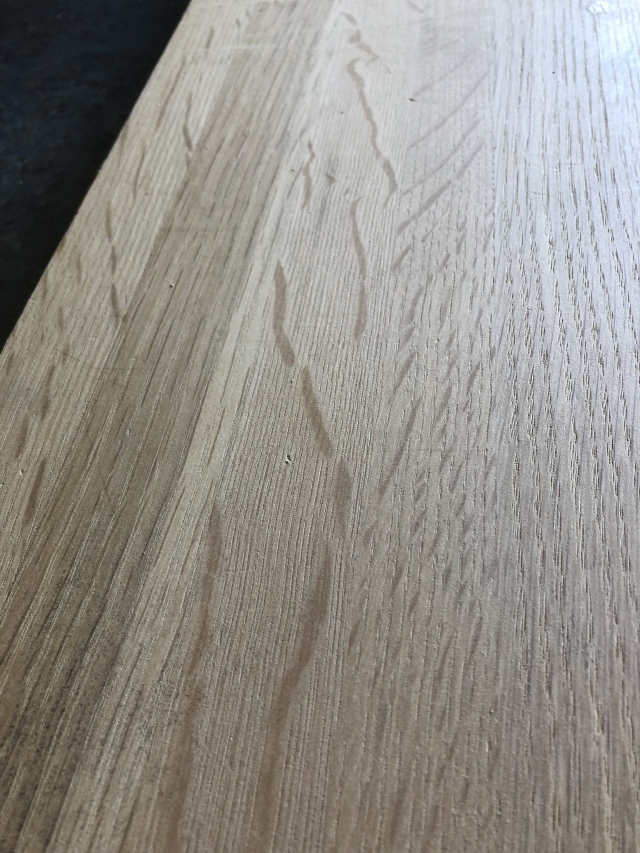
The prettiness of the wood will far outshine the imperfections. This and the previous photo does a terrific job showcasing the beauty of this white oak.

Here’s me wearing a dust mask and eye protection. The fine dust always manages to find its way to my eyelashes.
~ Check back for Week 4 or leave a quick comment letting me know you’d like to see more of this project. You’ll receive an early-bird email with a link to the next installment. I don’t have an email service set up, but I should be able to manage it manually. Thank you for your continued interest.
Looking good! Nice job on the corners. Jig saw followed by belt sander? They look very even. I like the cove edge profile, especially on the QSWO—nice detail!
Thanks! The corners are Dad’s handiwork. I’m pleased with how they look proportion-wise. I wanted the top to look like a cross-section of the legs, both being in the same plane. I hope the cove on the top edge looks as nice as the coves in the photo. It’s a shame one of the pieces won’t be seen, unless you get under the table with a flashlight.
It’s really beautiful! Looking forward to the next installment!
Thank you. I just hope it turns out the way I see/saw it in my head. It looks promising, though.
Looking good so far! Where are you going to put it when it’s done? Don’t you guys have a giant ottoman?
We do. Dorothy has it under her desk and sticking out the back. This table will replace the square Ikea table we’re using now.