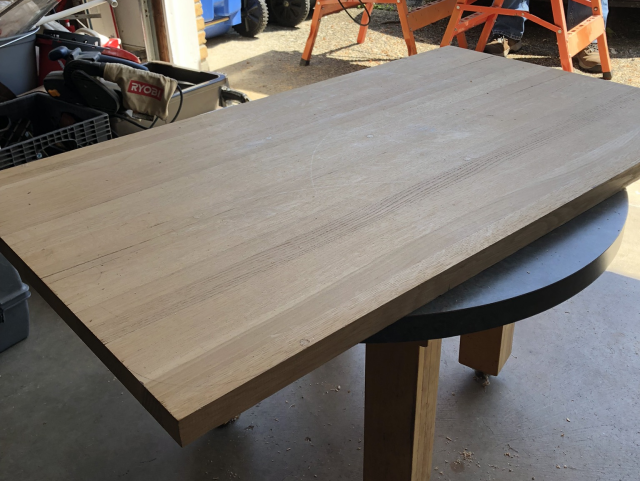
My homework after day one was to chisel off the tops of the plugs and plane them flush. Dad took some parts home and drilled assembly holes and holes for plugs on his drill press. He also drilled holes for screws and larger plugs lower on the legs for the lower stretchers. The stretchers also needed screw holes for attaching the leg assembly to the top. They won’t need plugs where they’re located.
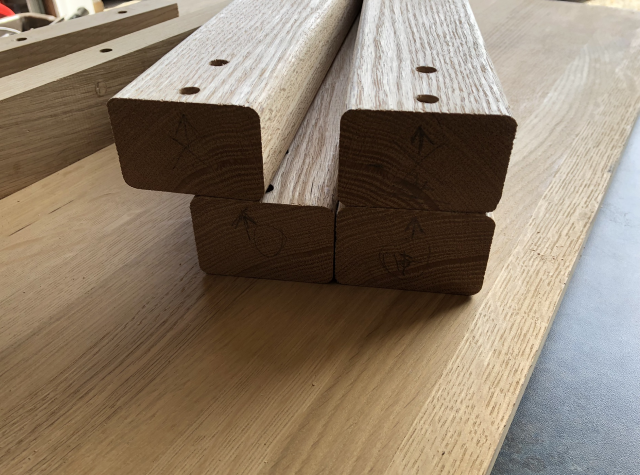
Soon after the drilling, it was time to dry fit the parts. A bit of chiseling made the half lap joint of the top stretchers go together again after all these years. A screw on the top side holds the pieces together. The bottom edges received a round over after Dad put them together. Next came drilling the pilot holes in the ends of the stretchers and the attachment of the legs.
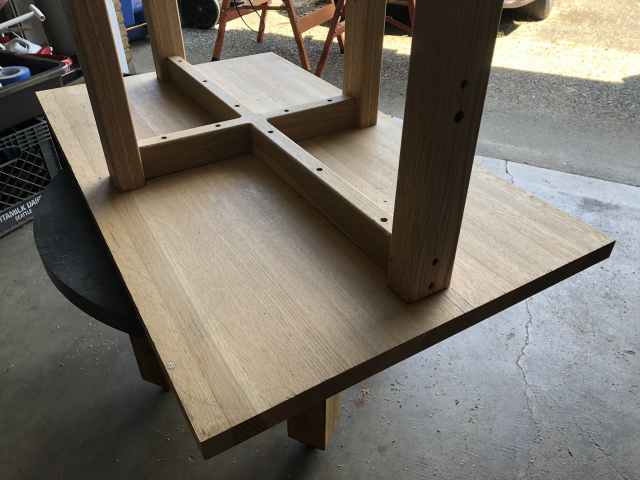
The ends of the legs received a cove, as will the table top and the top edges of the lower stretchers. The underside edges of the table top and the lower stretchers will also receive the same round over used throughout the project.
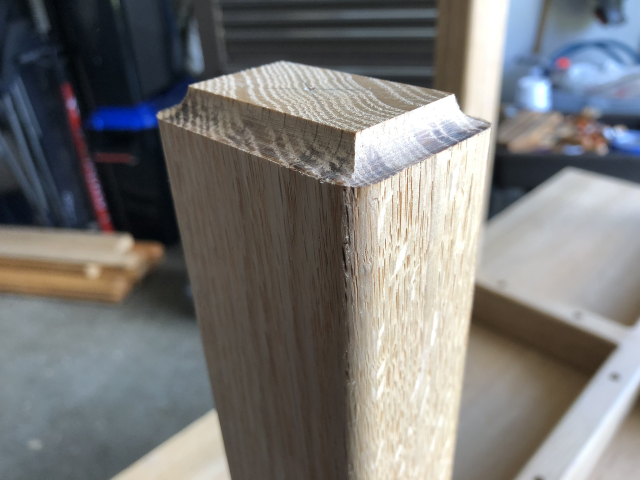
What’s wrong with the picture below? Nothing. But also something. Design-wise, everything is as intended. Execution-wise, there’s a minor problem. The holes to attach the lower stretchers are the same distance from the end of the legs, by design.
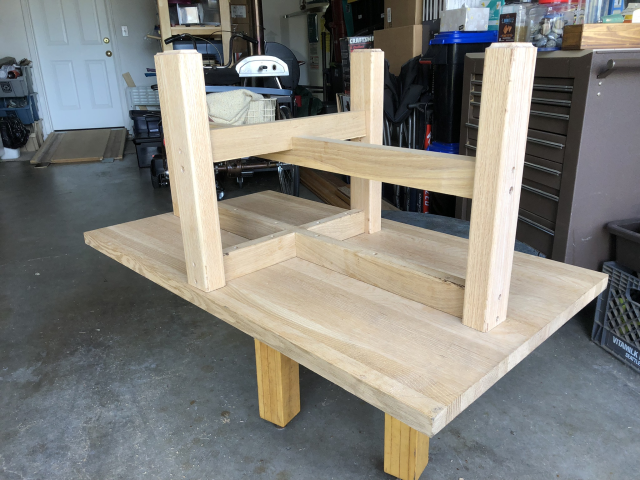
The problem is I forgot the half-lap joint on the lower stretchers is less than half. It slipped my mind that one of the holes on one pair of opposing legs shouldn’t go all the way through. Those holes only needed to be deep enough and sized for larger plugs.
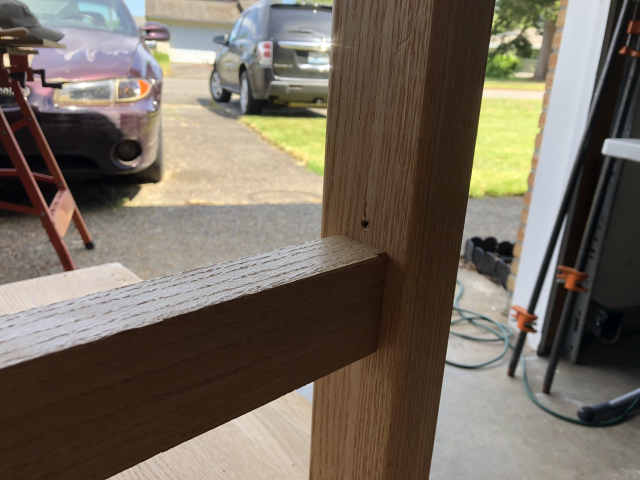
We determined the long stretcher to be the one to get two screws. That’s where we positioned it to mark the location of the holes in the first place. Plus, it looks better there. The short stretcher will get one screw and maybe a dowel pin.
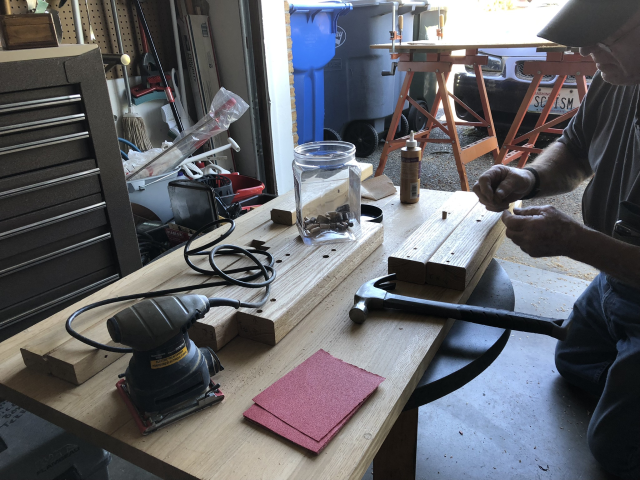
The plugs to fill the non-used holes should be unobtrusive where they’re located. If anything, they’ll ‘match’ the other plugged parts. Here’s Dad installing the last two plugs. My next homework is flushing up those plugs and sanding the machine marks and burns out of the parts of the leg assembly.
~ Check back for Week 3, TBD, or leave a quick comment letting me know you’d like to see more of this project. You’ll receive an early-bird email with a link to the next installment. I don’t have an email service set up, but I should be able to manage it manually. Thank you for your continued interest.
Looking good! How are you making the plugs? I’ve used a tapered plug cutter in the past to good effect.
That’s going to be a heavy beast with all of that solid oak. “Rock Solid”, one might say. 😉
Thanks! I used a tapered plug cutter ages ago to cut the small plugs. Dad used a couple of his larger ones for plugs yet to be revealed and to repair a gouge caused by the previous presence of a nail. “Rock Solid” is right! I just hope the legs and stretchers aren’t too visually heavy for the relatively thin top.