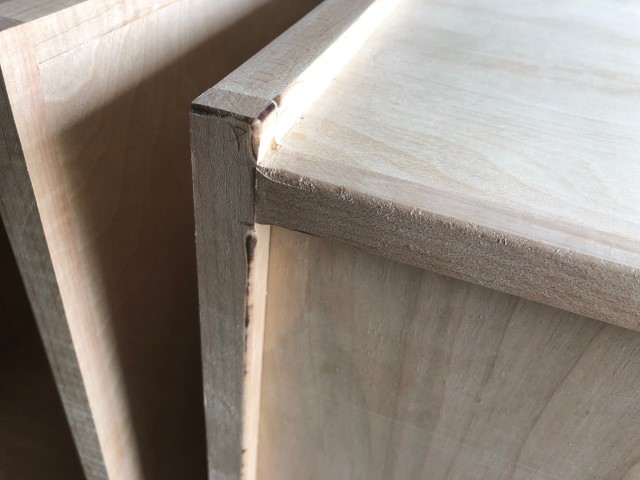
Phase 2 began with sanding off the burn marks, saw marks, and dried glue residue. I asked Dad to scrape off several saw marks, otherwise I’d “burn” through the adjoining plywood with the sander.
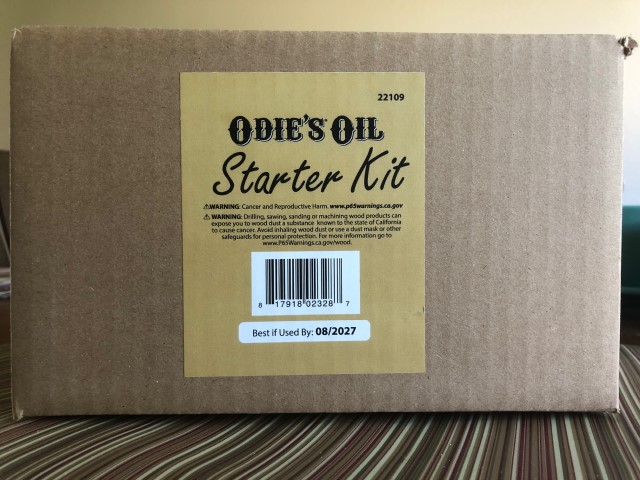
A woodworker whose videos I watch online speaks very highly of this product. I understand why. It simply requires buffing on with one of the provided non-woven pads, then buffing off with one of the provided towels. The honey-like oil adds warmth to the wood and really brings out the grain. It also smells pleasant and washes up easily.
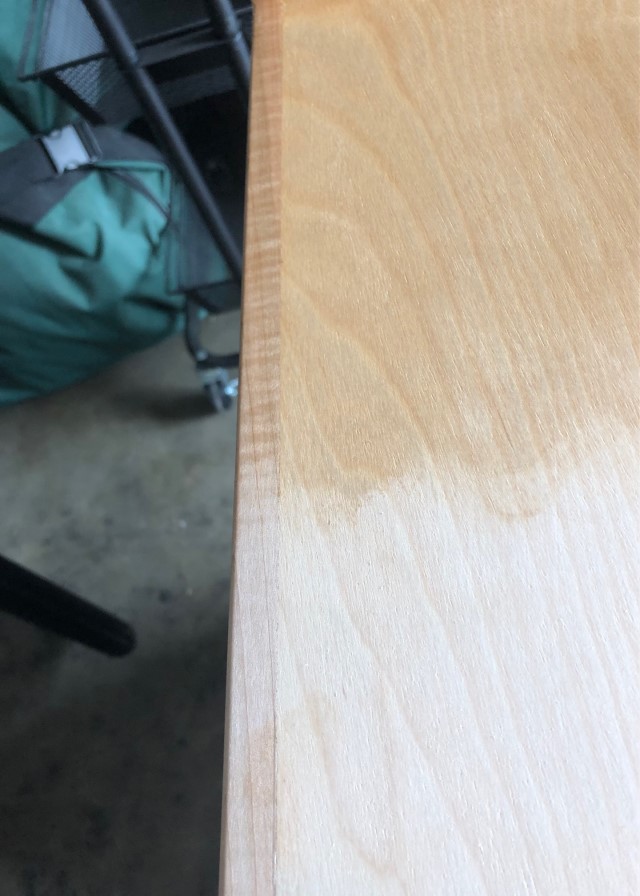
The wood for the trim came from one of two nearly identical boards I bought from an employer and have been dragging around for years. My mom (a long-time 4-H foods judge and superintendent) asked if I had any wood suitable for Washington State-shaped cutting boards. My parents sponsored the state 4-H food contest’s top achievement awards, with these being the prizes. I donated sections from the more plain ends of both boards. Dad cut them to shape then Mom applied a food-safe oil. I gave one of the boards to Dad and kept one for myself. The board I kept was perfect for this project.
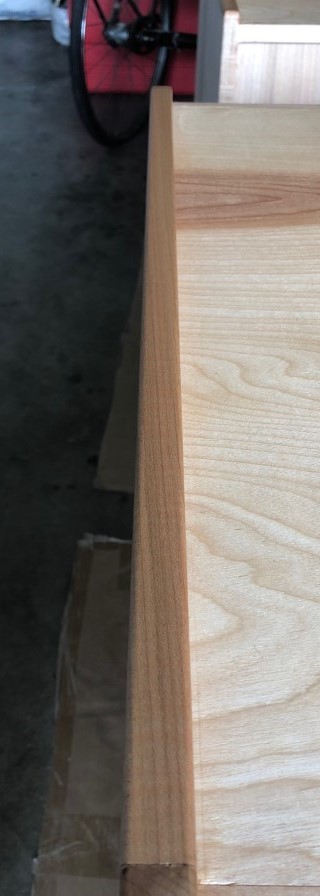
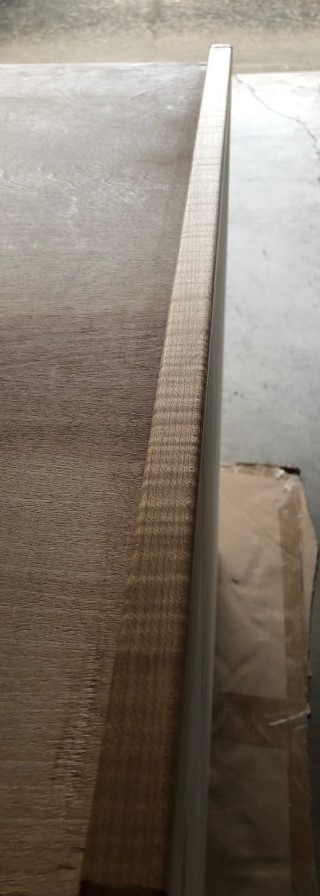
I knew it was a nice piece of wood. I only discovered how beguiling it could be after sanding and finishing it. These photos are of the same piece of trim taken from opposite ends.
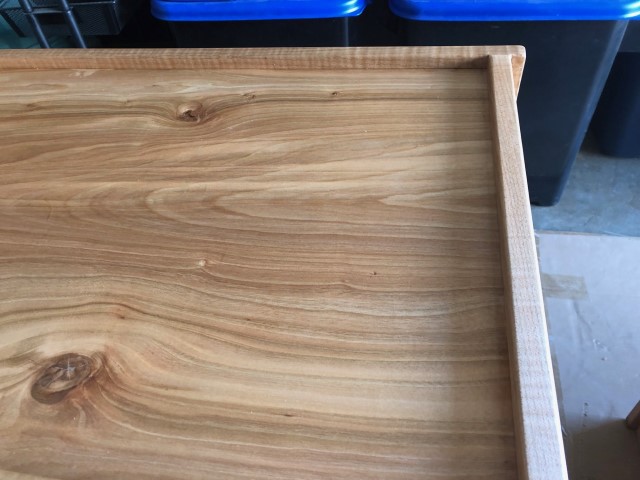
It surprised me how well the plywood backs match the trim. Both have light and dark brown tones with streaks of pink and gray. I noticed the small area of dry, diluted glue on the edge of the pictured back (upper left corner) when I was buffing the finish off. I sanded the glue and surrounding area with my finest sanding sponge, wiped off any dust, then reapplied the finish. You’d never know the glue was there.
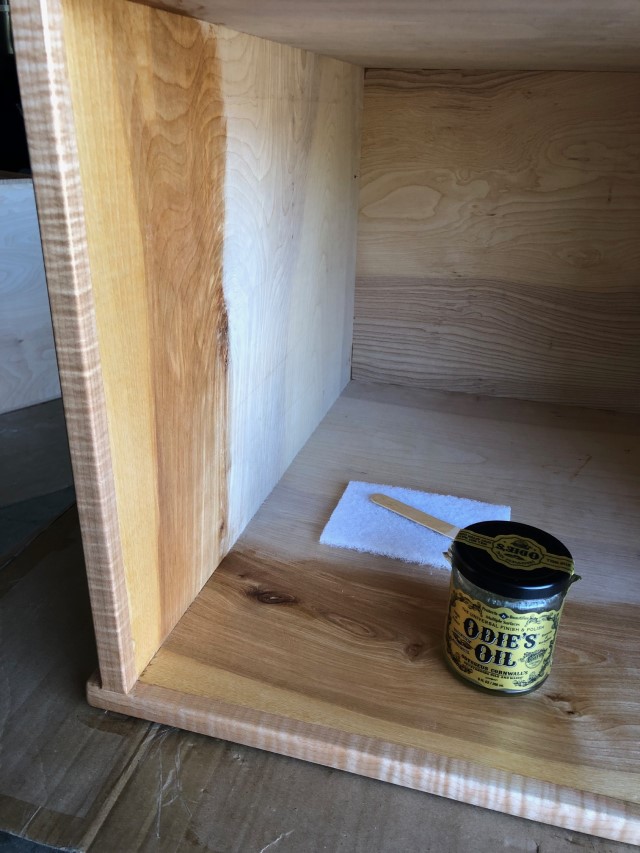
I finished the interior more than just the inch that’s necessary. This shot shows the size of the finish jar along with one of the pads and stir sticks (tongue depressors) that came in the kit. It also shows off the beauty of the maple and what the finish did for the birch plywood.
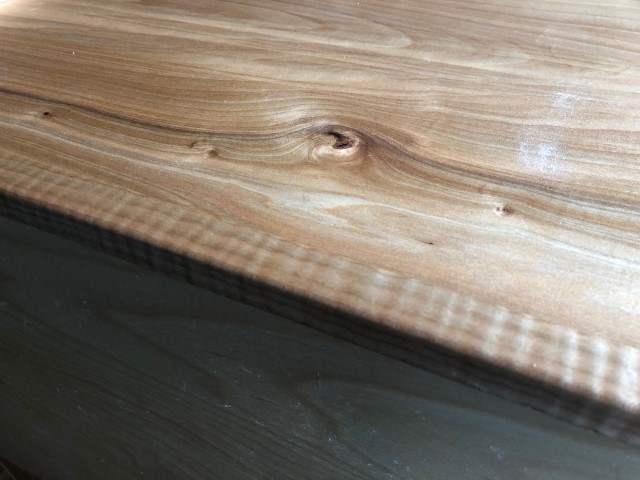
I sanded the plywood before Dad applied the trim. I sanded it again when I sanded the trim. That didn’t prevent the plywood from snagging the terry cloth towels as I buffed the finish off. Some of the fuzz wiped away by hand or when I hit it with 0000 steel wool or a sanding pad. Some came off when I applied the second coat. Some stayed. Some even came back! Note how it tries to hide in the shadow.
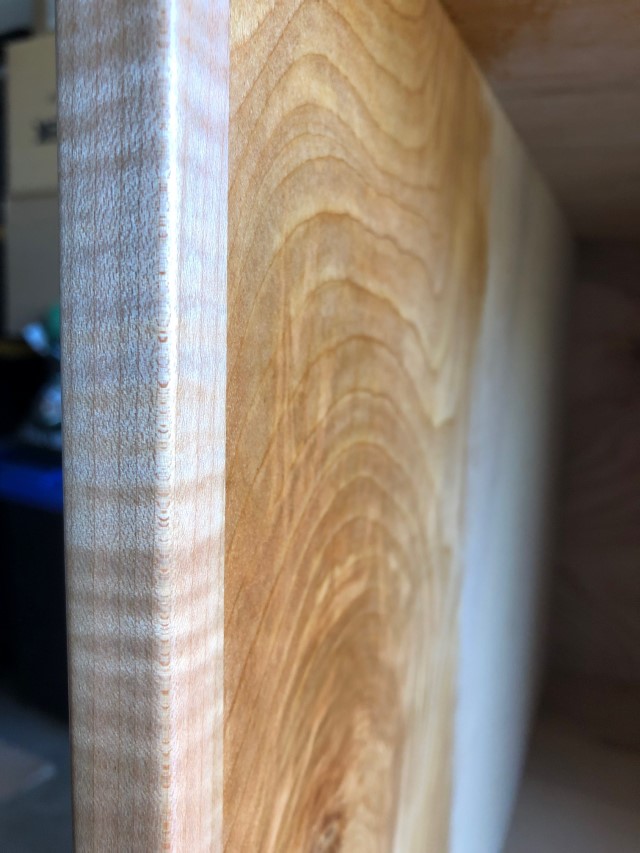
A closeup of the gorgeous wood.
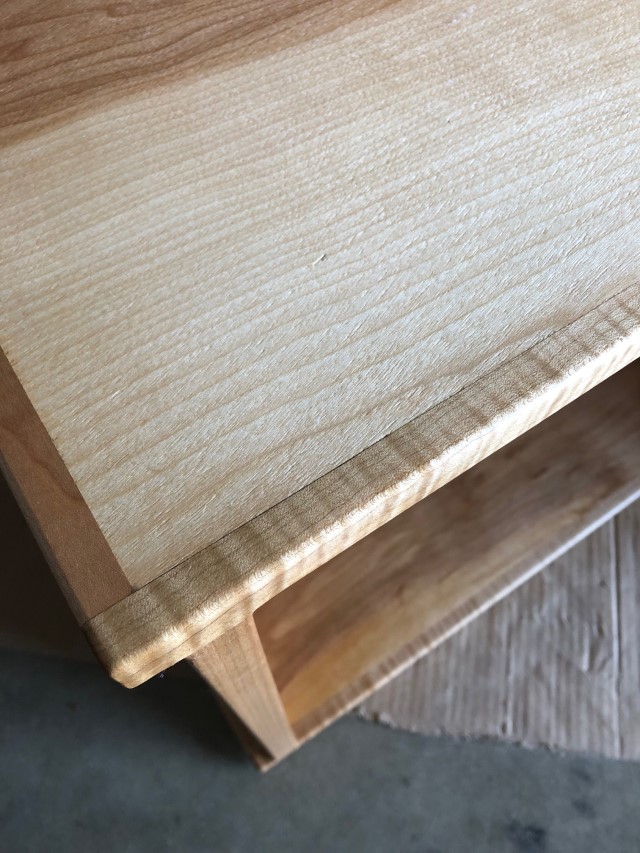
This shot shows all the colors involved with this project. Well, not ALL of them. You’ll see what I mean. The slight plywood burn-through in the corner does not count as one of the colors.
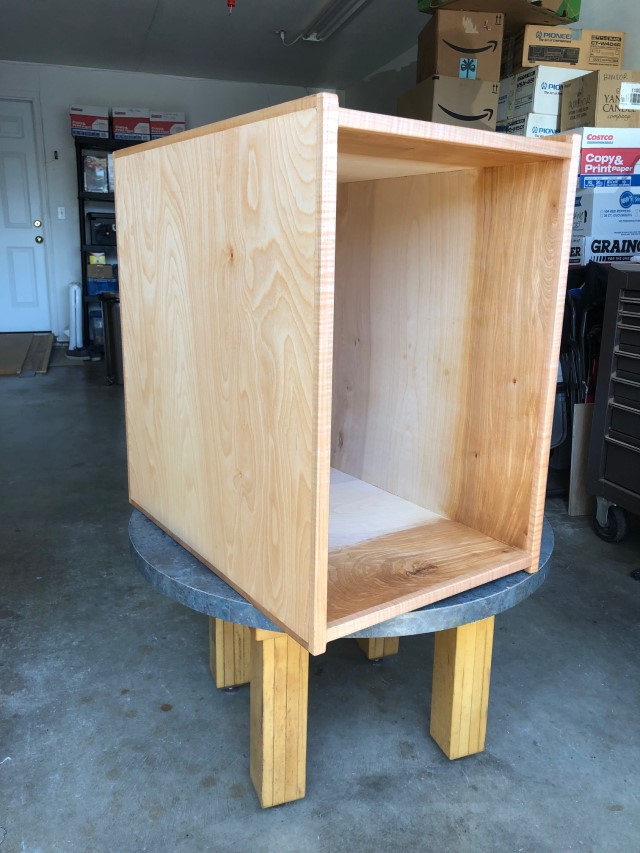
Here’s a completed box. Stay tuned for Phase 3, when it and its twin will get closer to being something recognizable.