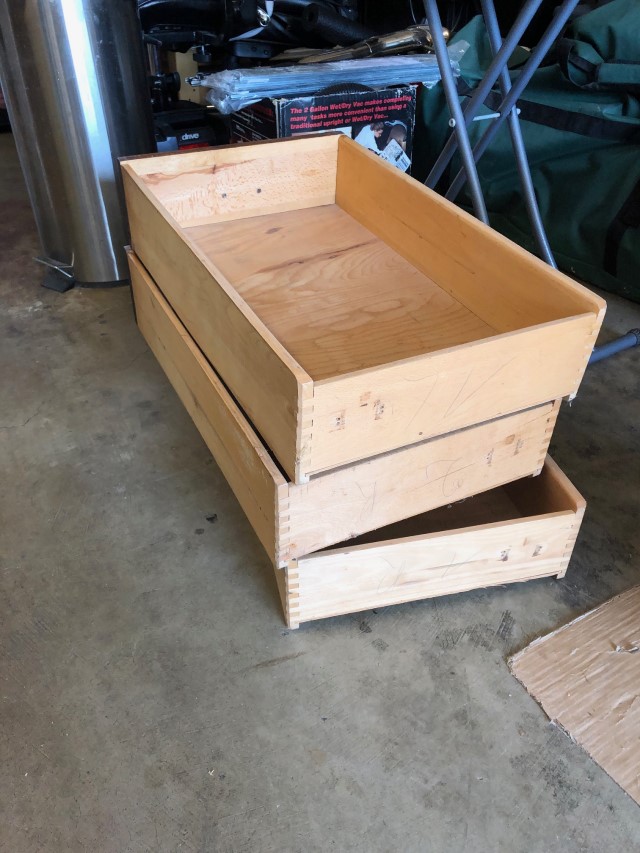
Phase 3 had us introducing complete components to the project. These drawers came from a desk I bought from a guy at an old job. I used the desk for several years in homes and apartments that could accommodate it. It sat in the garage, disassembled, at the last apartment I lived in because it already had a built-in desk area. I parted ways with the desk when I moved out by making use of dumpster at the end of my building.

But I couldn’t let go of these old drawers with their dovetailed fronts and finger-jointed backs. I also kept some hardware and other pieces in case I ever found them useful.

I had to buy drawer guides because the old desk didn’t use them. Dad put his knees and extensive cabinetmaking experience to work and had them installed in no time. The drawers fit exactly as planned, requiring only a few minor adjustments.

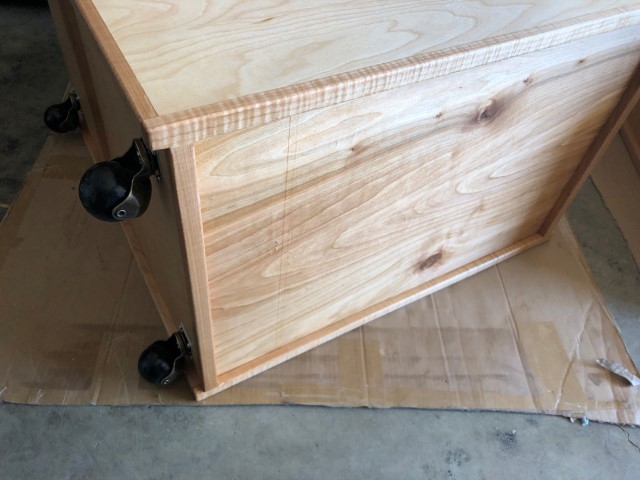
Here’s Dad installing another new hardware purchase. Casters. Eight of ’em!

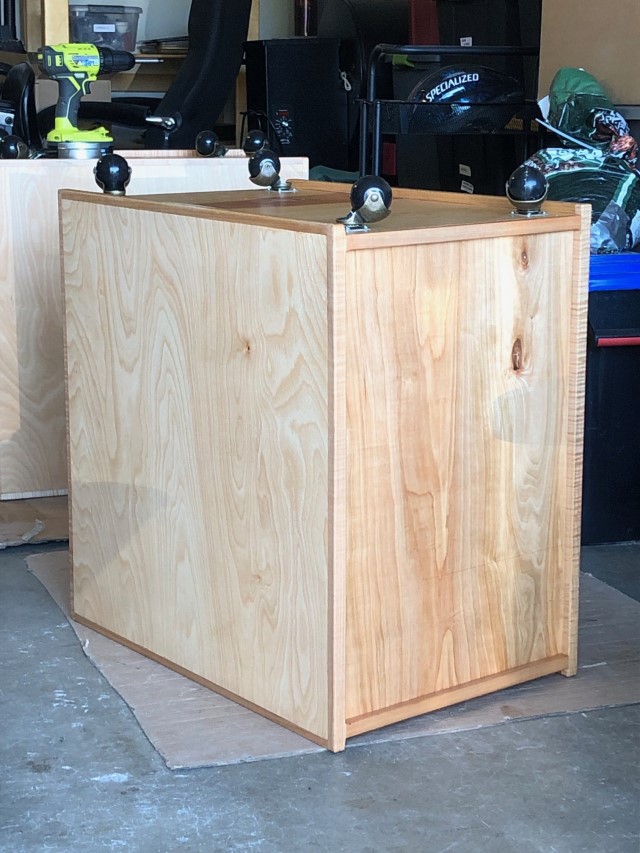
I chose these casters because their antique finish works well with the dark drawers, have a low profile, and are heavy duty enough for this project. The drawer pedestals won’t need to roll more than a few feet once they’re in the spare bedroom.

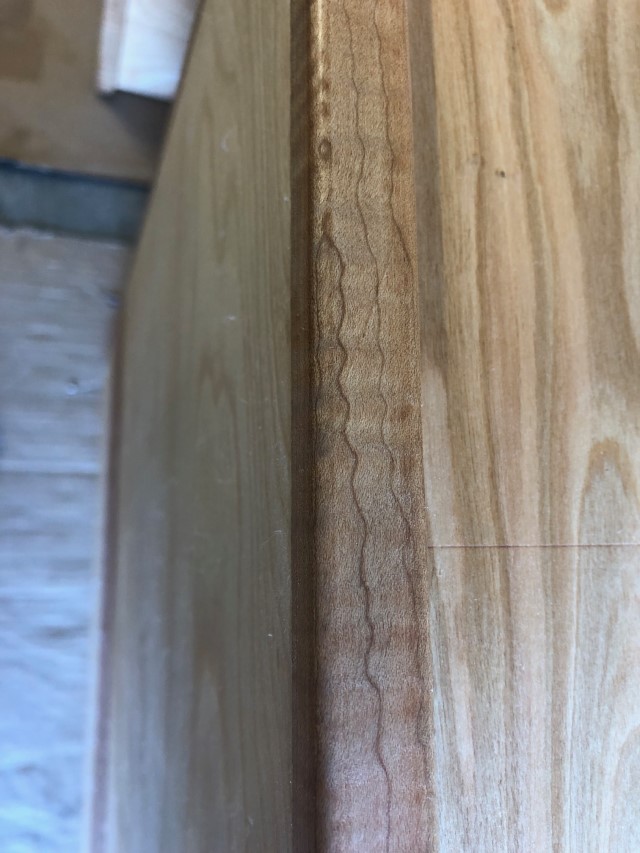
This is one of my favorite pieces of trim. Not only does it have the ripples running across the grain like most of the other pieces, it also has dark lines that run along the grain and follow the ripples.

The backs have lines across them. They most likely came from either the mill or the store cutting the plywood down to a quarter sheet. They’re more like contusions than abrasions. I didn’t want to try sanding them out and run the risk of burning through the top layer. This is how the pedestals look to the camera.

They look more like this to the naked eye. The next question is how they’ll look with the final major component. My color test at the start of this project leads me to believe they’ll look great together.
It’s coming together! I can’t believe you’ve had a pile of drawers sitting around for all these years now. 😂